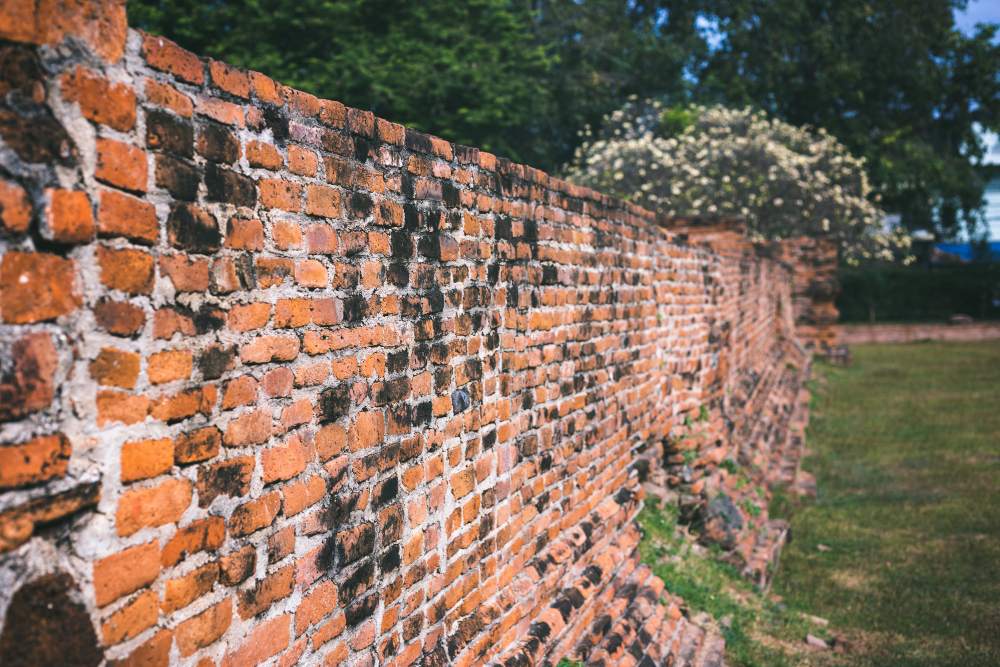
Reclaimed brick has something that new material can’t give: each piece has a unique color, tiny irregularities, a history. With such a brick you can build a fence that suits both a house from years ago and a modern property – provided you do it wisely. Below we have prepared a simple plan: we explain whether the brick is suitable for a fence, how to lay it step by step, and how to arrange the garden so that the fence not only stands, but also looks great.
Is demolition brick suitable for fencing?
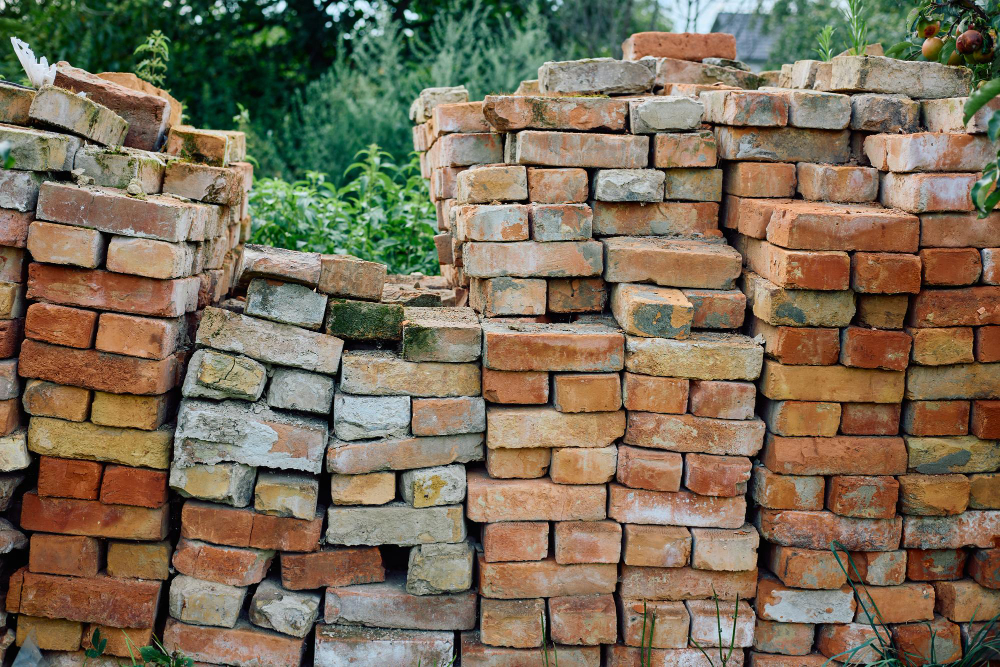
Yes – provided that you choose a full demolition brick of good quality (even, hard, without peeling corners, without deep cracks). Such a brick is usually well-fired and frost-resistant. You will find just such a one in our store.
Moreover, it’s worth it:
-
Order an additional 10-15% for lapping and selection.
-
Check the differences in shades – this is an asset; the natural variation gives a beautiful, “living” wall.
-
Before bricklaying, slightly moisten the brick so that it does not “suck” water from the mortar.
If you are putting up a full wall (and not just posts), a full-thickness brick wall (about 25 cm) works best, possibly in an arrangement with posts and bays.
How to lay a fence with demolition bricks?
Here are simple step-by-step instructions on how to make a fence out of old brick:
1) Foundation and insulation
A solid fence starts underground. Make a continuous reinforced concrete foundation adapted to the conditions of the ground and the frost zone (the depth and width are chosen by the builder – it is not worth guessing here). On top of the foundation, lay horizontal damp proofing (strips of tar paper/foil) so that moisture does not pull up to the wall.
Tip: for longer sections, plan expansion joints (e.g., every 6-8 m and at the gate) to offset stresses.
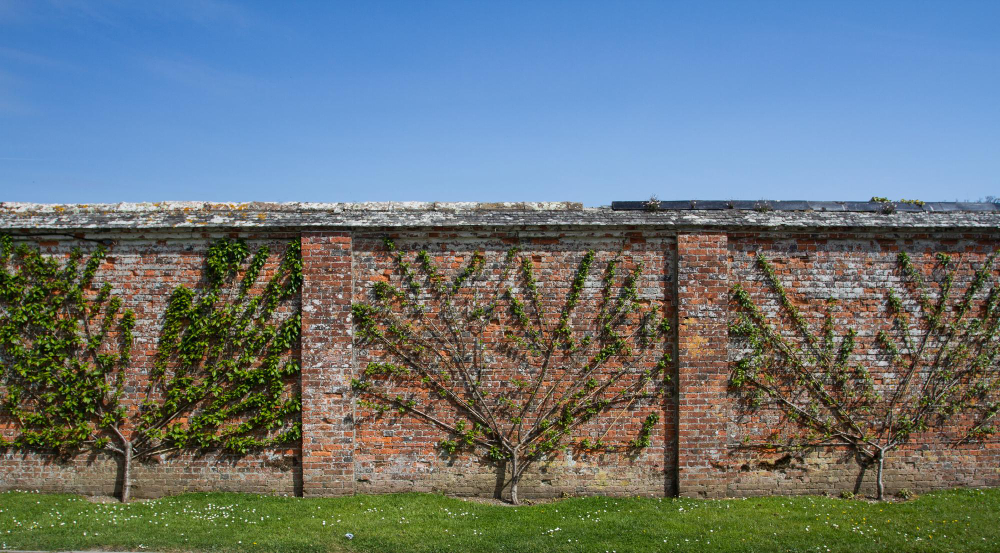
2) Posts and spans
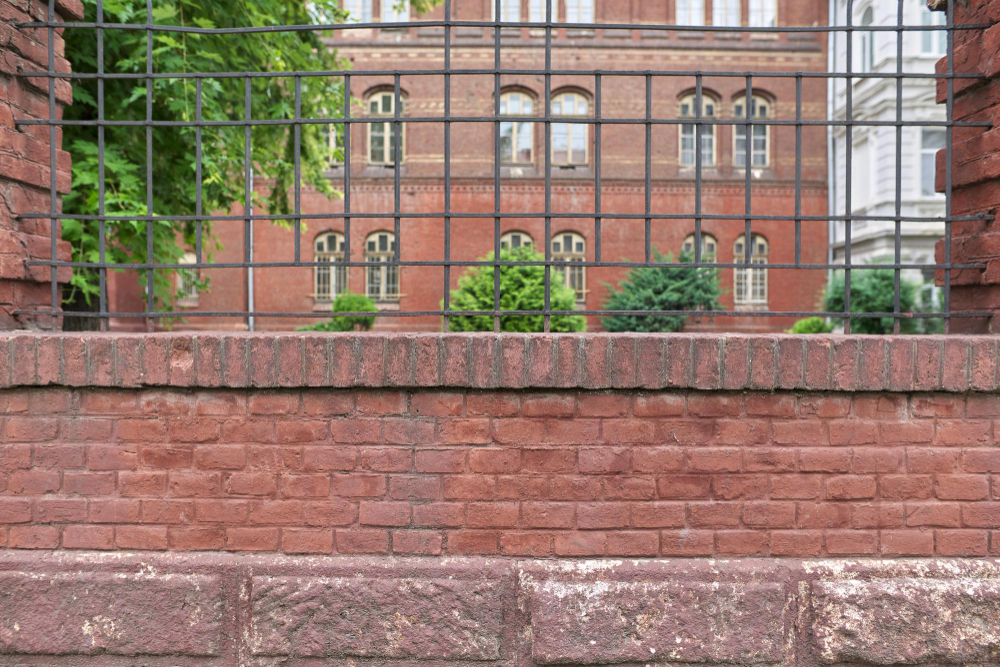
The most practical arrangement is posts every 2-2.5 meters (with a reinforced concrete core and rebar anchored to the foundation), connected by a lower brickwork or light span (steel/wood). The posts tie the structure together, facilitate the installation of the gate and wicket, and in addition, the brick shows its beauty on larger surfaces.
Good standard: fence height 140-180 cm (higher – check local regulations and neighborhood).
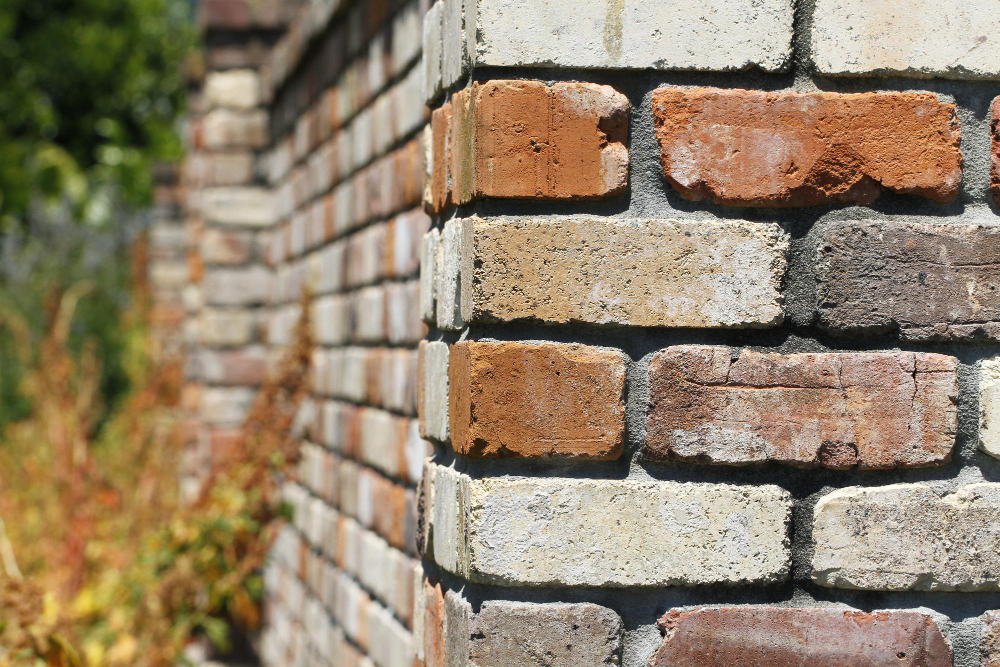
3) Bonds and welds
Demolition bricks look nicest in simple bonds: carriage (long side), English or Flemish (alternating head/carriage). Do full joints, profiled to slightly concave or gently “obliterated flat” – the water will run off and the shadow will emphasize the drawing of the wall.
Grout color: for reds and redheads, sand/beige goes well; for darker, more “brick” tones, you can use light gray. Leave graphite for lofts – with fences it can sometimes be too harsh.
4) Mortar and Masonry
Use a good mortar (cement-lime or ready-made grade M5-M10), work in positive temperatures, without rain or heat. Wet the bricks – especially dry ones. After bricklaying, protect the fresh masonry from the sun and rain, and care for the joints (light sprinkling) for several days.
5) Finishing and details
The wall must “have a cap.” On top of it, lay a cap/reinforcement (clinker, stone, precast concrete) with a drip – an edge where water does not run down the face of the wall. You will save yourself efflorescence and stains.
In sensitive areas (near the ground) make a drainage and gravel band – splashes of water will not dirty the brick.
6) Waterproofing and care
After the masonry is fully dry (usually after a few weeks), apply a vapor-permeable water repellent – the brick will absorb less water and dirt, and the color will remain natural. Remove fresh salt efflorescence with a soft brush after it dries (avoid aggressive acids).
What style of house does a brick fence go with?
-
Houses with history and manor houses – demolition brick creates a coherent whole with centuries-old buildings.
-
Modern barn – the combination of wood, seamed sheet metal and warm brick is a classic.
-
Loft/industrial – looks great with black steel and simple gate geometry.
-
Rustic/Provençal – choose lighter, whitewashed bricks and light grout; the atmosphere will be lighter.
-
Minimalism – brick as a low wall + simple steel spans, in this version the fence will warm up the austere body of the house.
What goes with a brick fence? – That is, how to create a garden that impresses
Here are some ideas for brick fence arrangements and how to incorporate them into the garden.
Greenery and plantings
-
At the wall: a belt of ornamental grasses (miscanthus, clematis), lavender, boxwood/yew in form, hydrangeas on the corners – they softly resonate with the texture of the brick.
-
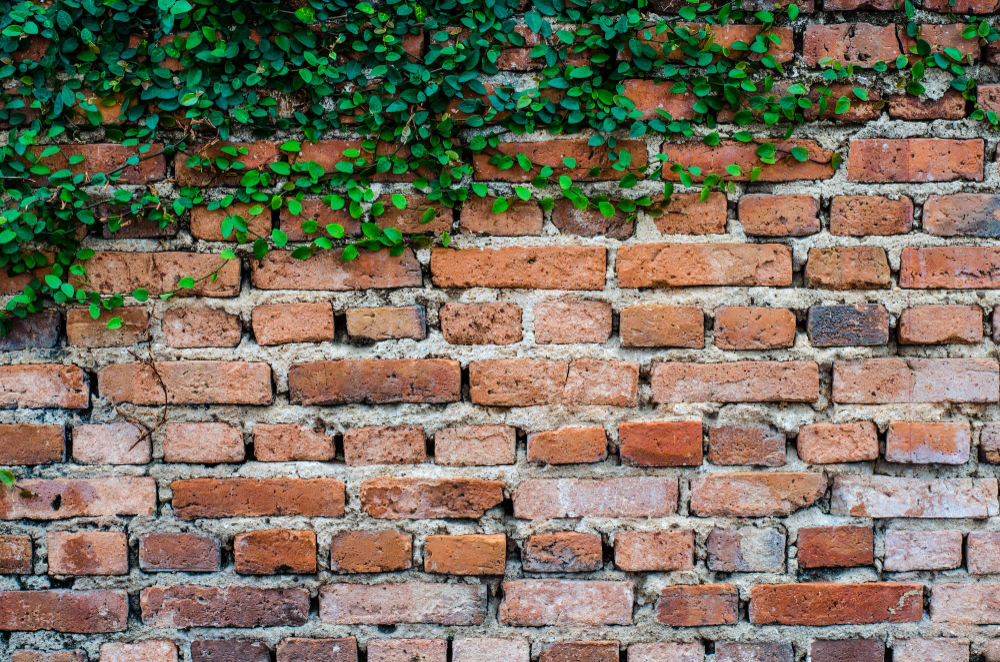
Climbers: clematis , honeysuckle, climbing rose – beautiful, but guide them on supports; ivy can get into joints which can be problematic (nice, but needs control).
-
Banding near the ground: 20-30 cm of gravel or low edging – less mud on the face and a decent, architectural drawing.
Light and metal
-
Wall lamps on poles or low garden poles (2700-3000 K) will highlight the texture of the brick in the evening.
-
Spans/gates: powder-coated steel (graphite/black), or corten for the bolder; for a warmer style, wooden horizontal laths.
-
House number, box, intercom: simple, in a consistent style; with brick, elements in brushed brass or black look better than chrome.
Aesthetics of the wall – some simple tricks
- Make a sample of the wall (1-2 sqm): you will check the color of the joint and the layout of the bonds.
-
Consider brick details: tile “on the edge” as a cornice, slightly protruding heads every few layers – you’re in for a spectacle with shadow in the lead role.
-
Let the fence end logically: a post, a lower wall or “batista” (low walls at the entrance) – instead of a broken section.

The most common mistakes that are easy to avoid
-
Lack of “cap” with drip → this can result in stains, efflorescence, faster deterioration.
-
A foundation that is too narrow or lacks horizontal insulation → this leads to cracks and moisture pull-up.
-
Too hard, dark grout in light arrangements → the wall looks heavy and foreign.
-
Working in frost/heat without covers → the result is cracking and poor mortar setting.
-
Chaotic additions (spans with a different style than the gate, three colors of metal) → impression of randomness.