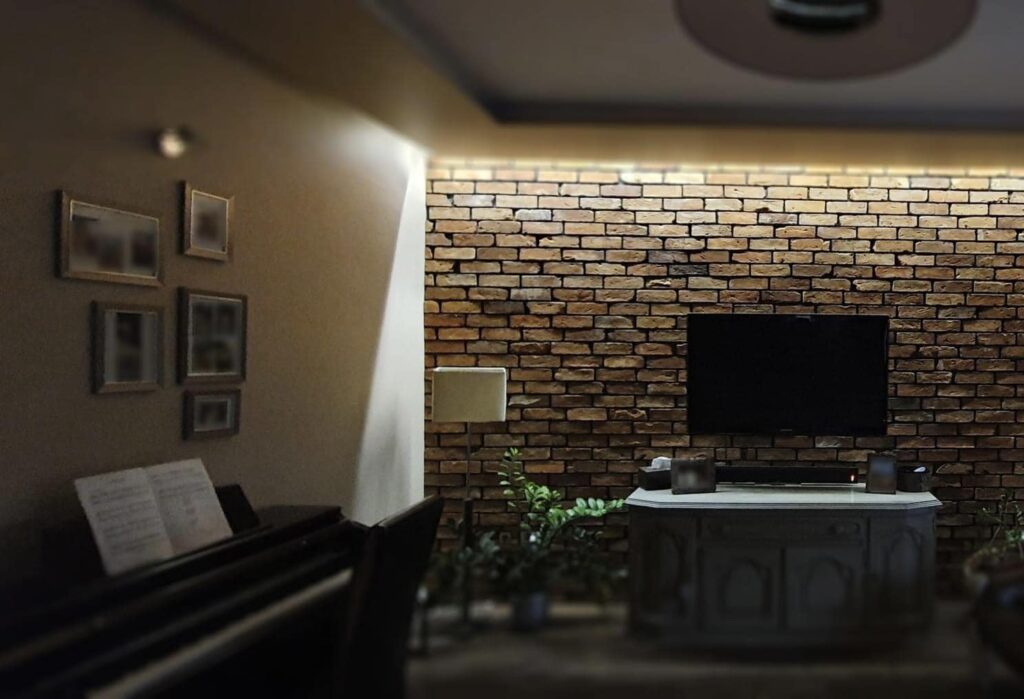
A brick wall can completely transform an interior – add character, coziness or loft rawness. No wonder that more and more people are reaching for the original demolition brick or tiles made of it. However, the question arises: how to properly arrange them so that the end result is durable and aesthetically pleasing?
In this step-by-step guide, we will show you how to install a brick on the wall yourself – from preparing the substrate, through the selection of adhesive, to grouting and waterproofing. This will help you avoid the most common mistakes and create a wall that will please the eye for many years – without having to hire a construction team.
What is worth remembering before you start laying brick on the wall?
Before you grab your trowel and glue, it’s a good idea to prepare well – it’s these first decisions that determine what your brick wall will look like in a few months and years.
-
Check the substrate – the wall must be even, dry and clean. Before you start, remove any leftover paint or loose plaster and prime the surface.
-
Take care of the right adhesive and grout – not every product is suitable for heavier demolition brick. Choose preparations dedicated to decorative brick (check out our chemistry for brick installation and impregnation).
-
Remember to impregnate – protecting the brick with a special impregnator protects it from moisture and dirt, and makes it easier to clean later. Stock up on a suitable impregnating agent in advance.
-
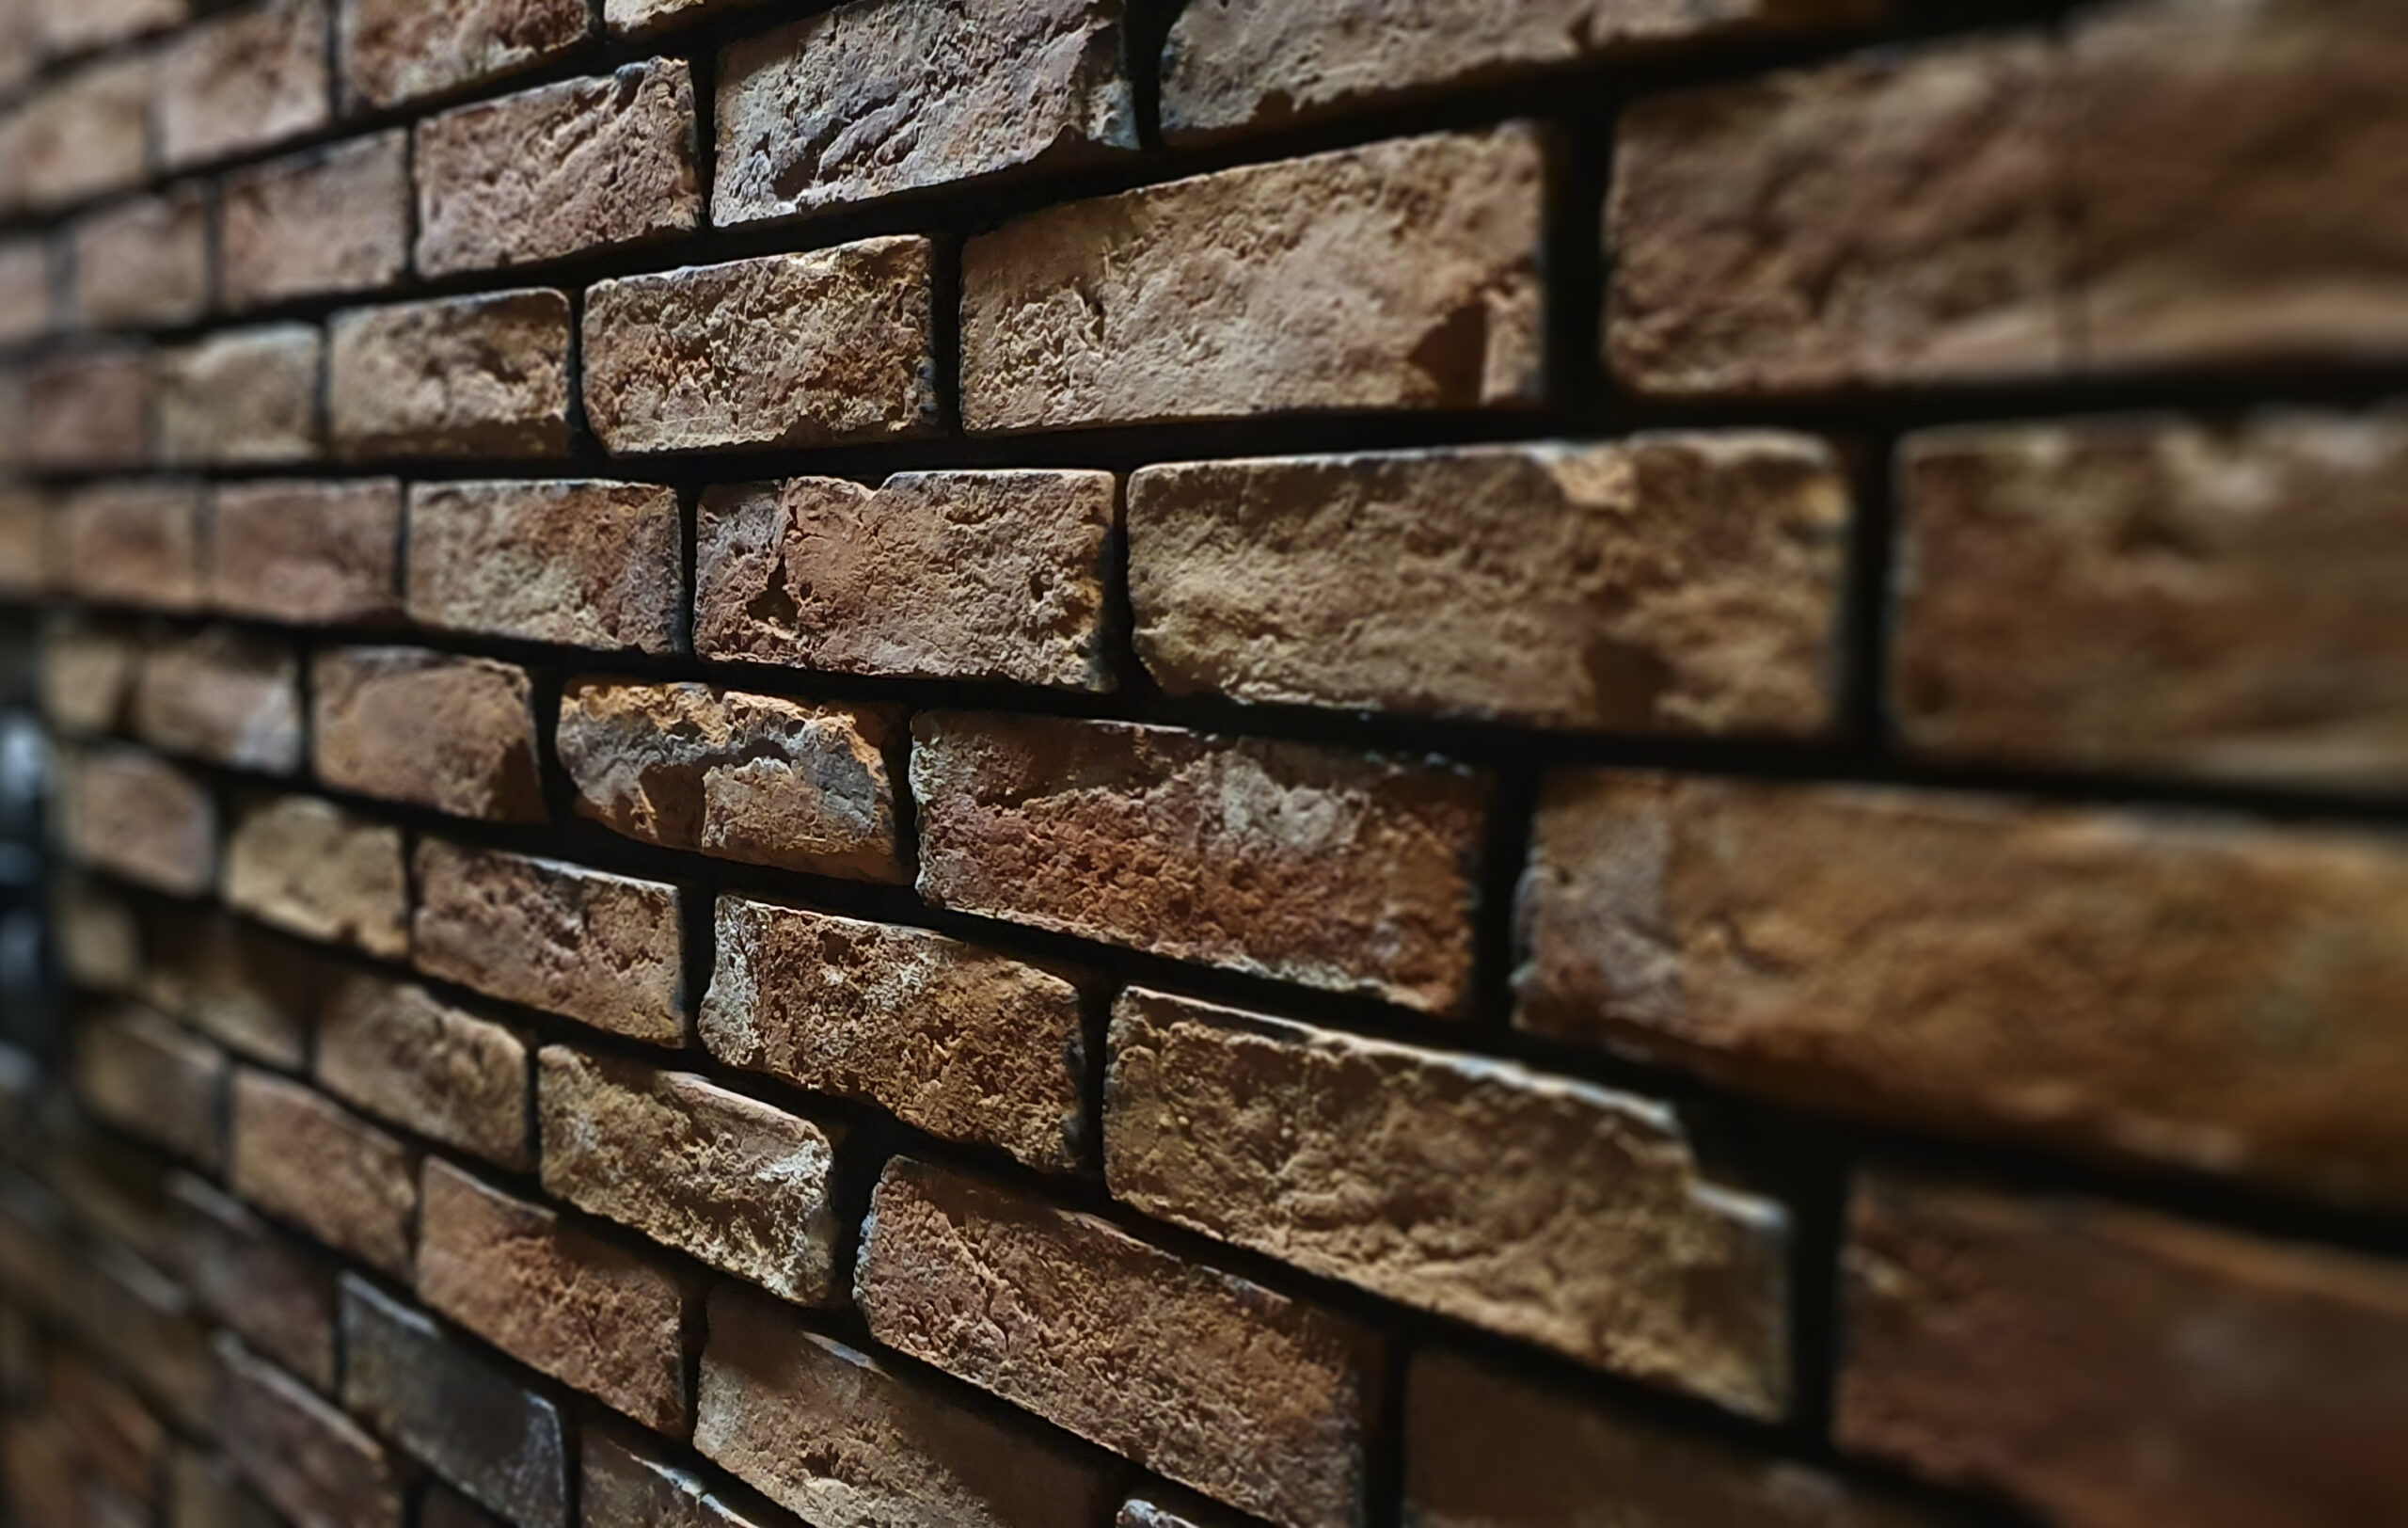
Choose bricks from the right source – it’s really not worth the risk here. Bricks of unknown origin may have efflorescence, damage, or come from different demolitions and differ significantly in color. That’s why it’s best to choose reliable suppliers – with us decorative bricks are carefully selected, checked for quality and ready for installation.
-
Lay out the layout – before gluing, it’s a good idea to “try on” the bricks (for example, on the floor) to see the arrangement of colors and textures. This will help you avoid accidental repetitions and the wall will look natural. Think carefully about how large an area you want to cover with bricks, so that the effect is pleasing to the eye and not overwhelming.
What will be needed to install the brick on the wall?
To install a brick on a wall, various materials and tools will be required. In addition to the obvious – that is, the bricks – a primer will also be necessary, for ensuring that the bricks adhere well to the surface.
Grout plays an important role in the finish. The spaces between the bricks can be filled with white gypsum plaster or gypsum adhesive. For the installation itself, a polyurethane adhesive or one designed for tiles or plaster will work well.
If you plan to repaint your brick wall later, for example, white, choose the right paint.
A few tools that are good to have on hand are: a spatula for applying glue and grout, an upholstery knife, a bucket for mixtures, a brush or roller for applying paint and primer, a grout gun, waterproofing agent, a pencil, a tape measure, and a level.
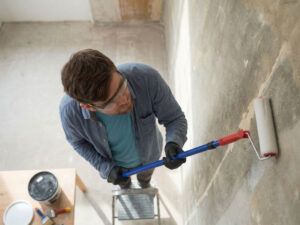
How to prepare the wall before laying bricks?
Preparing the wall before laying bricks is key to achieving a lasting and aesthetically pleasing result. To begin with, it’s worth cleaning it and making sure it’s even, then apply a primer to improve surface adhesion. Spread it thoroughly with a roller over the entire surface where the brick tiles are to appear. After its application, wait from 6 to 12 hours for it to dry, which depends on weather conditions such as temperature and humidity.
Once the primer is dry, you can draw guide lines or install a guide profile. These lines will make it easier to lay bricks evenly, which is important for the professional appearance of the finished wall.
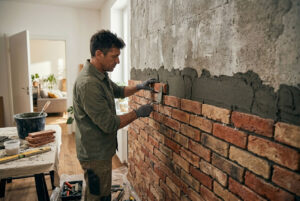
How to lay brick on the wall step by step?
Once you’ve primed the wall and the primer has dried completely, you can start laying bricks on the wall:
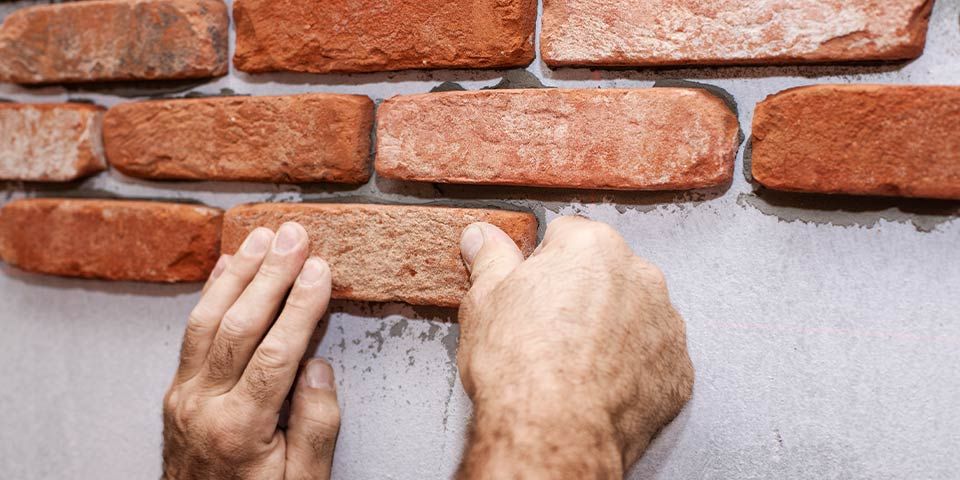
- Prepare the glue and apply it to the back of each brick (or brick tile) before fixing it on the wall. Follow the previously drawn directional lines.
- Once all the bricks are in place, proceed to the grouting stage. Fill in the spaces between them with the appropriate grout or glue.
- Use a brush to smooth the grout for an aesthetically pleasing finish.
- To increase the durability of your brick wall, apply a waterproofing treatment.
- You can also paint the wall to your liking to match the design style of the room.
What are the best techniques for laying brick on a wall?
1. the “passing” arrangement
-
The most common and classic way.
-
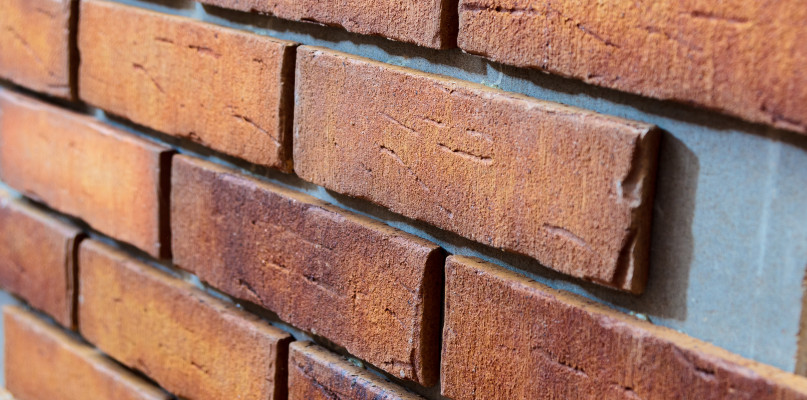
The bricks are laid in horizontal rows so that the vertical joints do not fall one under the other, but are offset by half the length of the brick.
-
The result: a natural, orderly, yet dynamic wall look. An ideal choice for most arrangements – from loft to classic.

2. layout “checkerboard”
-
The bricks are arranged in pairs – once vertically and once horizontally – forming a basket-like pattern.
-
Effect: decorative, visually interesting, works well on smaller sections of walls, such as as an accent behind the mirror or in the shower area (if you use tiles imitating brick).
3. layout “herringbone”
-
The bricks are laid at a 45° or 90° angle to each other, forming a distinctive herringbone pattern.
-
The effect: dynamic, elegant, ideal for modern interiors. Takes more time to install and requires cutting bricks, but gives a unique effect.
-
It works great on one accent wall, for example.
4. arrangement “crosswise”
-
In a row, a brick is laid once “on the cart” (with the longer side) and once “on the head” (with the shorter side).
-
Effect: more diverse and classic – often found in old buildings. Gives the wall authenticity and rustic character.
What kind of brick grout on the wall?
Grouting brick walls can be done in two different ways:
- The first method involves using a grout gun to precisely fill the gaps between the bricks with a semi-fluid compound.
- Alternatively, you can use gypsum adhesive. After pressing the brick firmly against the wall, this glue mimics grout.
It is crucial that the grout is smooth and free of lumps to ensure an aesthetically pleasing appearance.
However, it is important to carefully prepare the mixture to achieve the right consistency and evenly fill the spaces between the bricks.
As a result, the surface not only looks attractive, but also features durability.
>> Check out the grouts available in our store: coarse grout and epoxy grout.
What are the most common mistakes when creating a brick wall?
When building a brick wall, it’s easy to make a few common mistakes that can affect both the quality and aesthetics of the final result. One such misconduct is improper preparation of the priming base. If the bricks are not well bonded to the wall, they can begin to slip. For this reason, it is important to thoroughly clean the surface before applying the primer.
Other mistakes include using an adhesive that is too thin (or one that is not designed for bricks) and improper grouting.