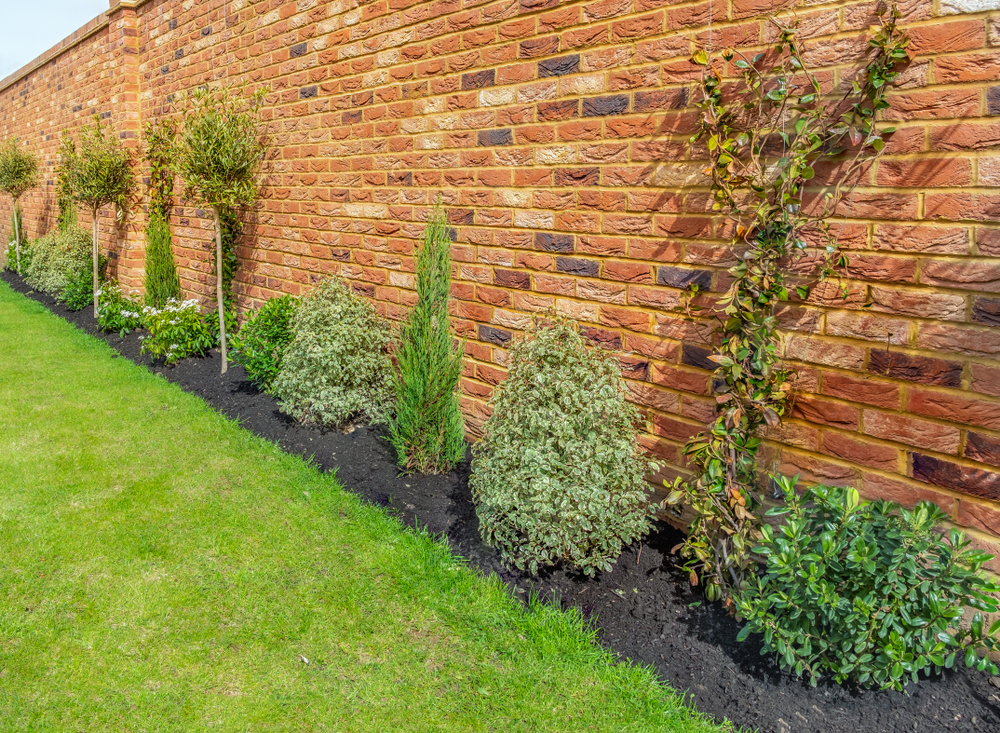
Old bricks have something that new materials often lack – character, a warm hue and a history written in every chip. Instead of languishing in a corner of the plot or at the bottom of the garage, they can get a second life in the garden. They are perfect as retaining walls supporting slopes, elegant borders of flowerbeds or atmospheric walls dividing space. They can become a subtle border between the alley and the lawn, a cover for trees, or even an impressive wall separating the neighbor.
In this article we will suggest how you can use old bricks in a practical as well as aesthetic way to give your garden a unique character.
Is a brick wall in the garden a good idea?
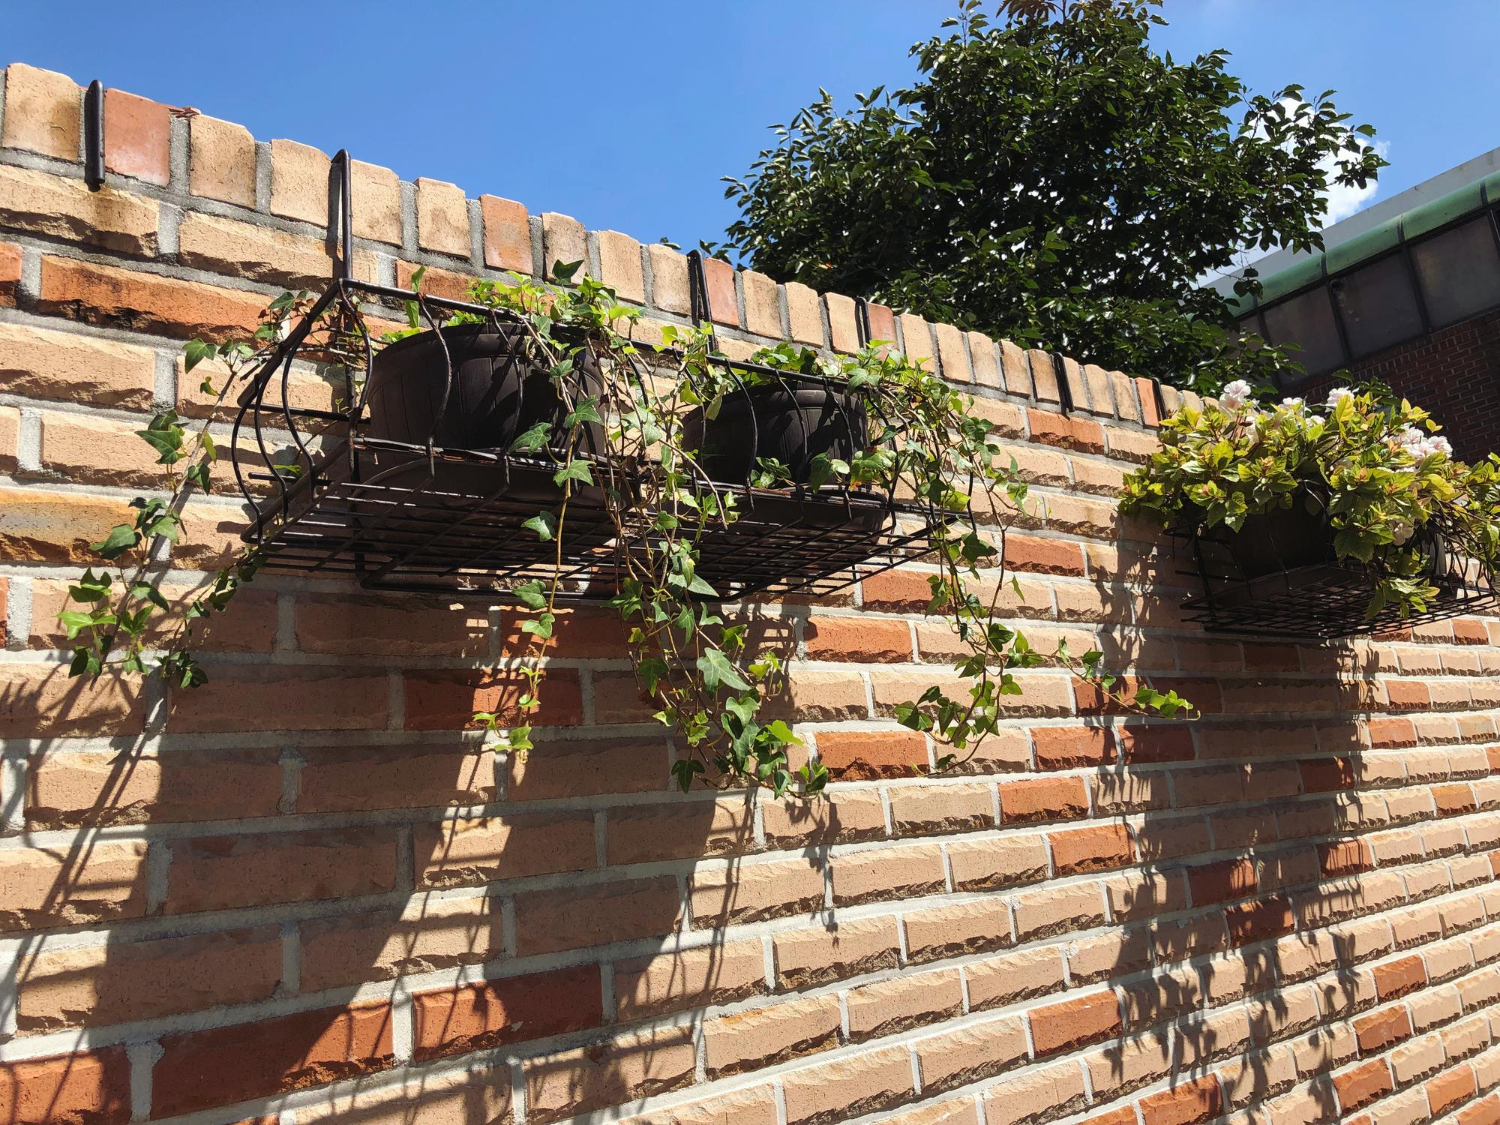
Walls and walls in the garden made of old brick are an excellent solution that combines beauty with practicality. Its durability provides solid protection and effective division of different parts of the plot.
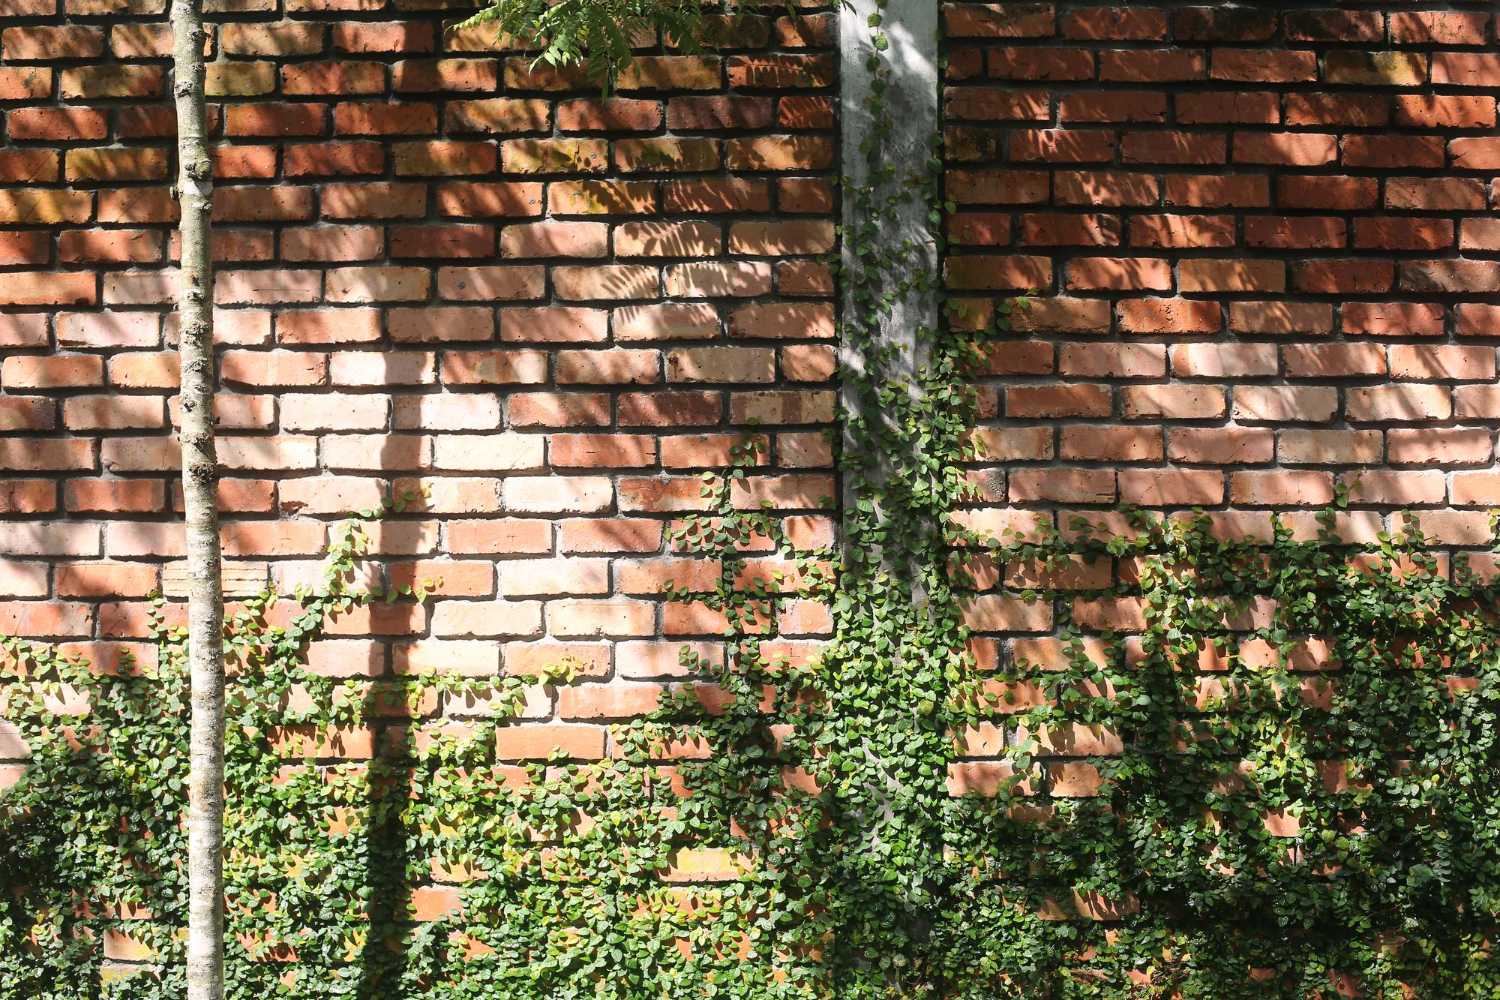
The rustic style of such a wall, subtle discoloration and traces of time on the bricks fit both classic and modern gardens. Such a wall will bring additional charm to the space. In combination with greenery it will create a cohesive and pleasing to the eye composition.
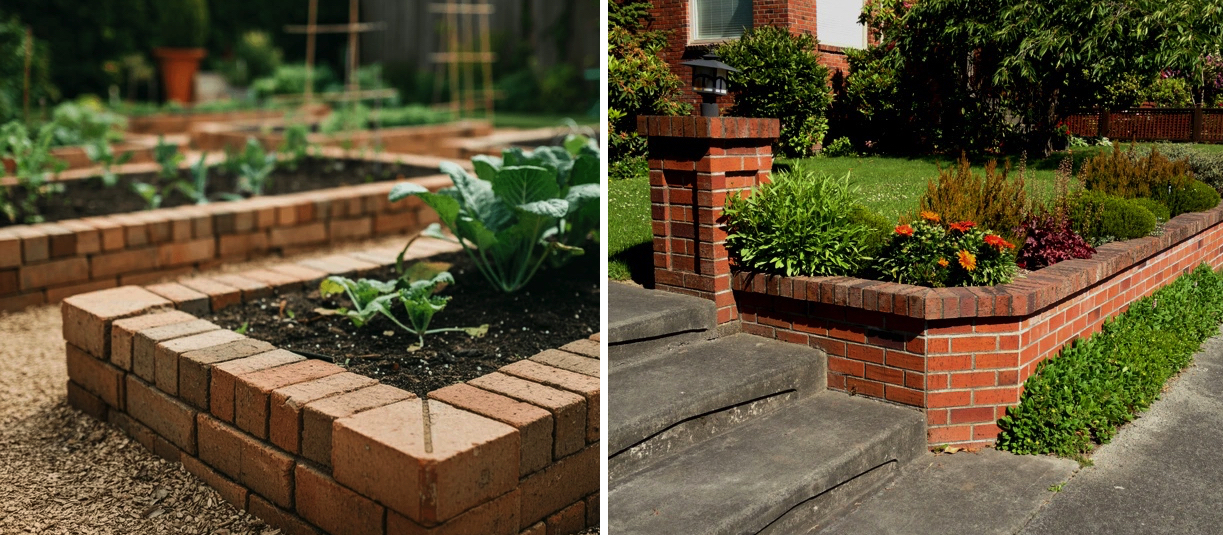
Brick walls or retaining walls are versatile and easily incorporated into a variety of designs, flowerbeds or, slopes, enriching the appearance of the entire property. And in addition, they are great for around the terrace and along paths. Anyway, you can also make the garden paths themselves from demolition bricks -. here we suggest how.
How to build a garden wall from old bricks?
Here are step-by-step instructions on how to make a brick garden wall.
What will be needed to build a brick wall in the garden?
- Old bricks from demolition (you can find them in our store <<)
- Construction sand
- Cement or ready-mixed mortar
- Hydrated lime (optional – increases plasticity of mortar)
- Gravel or ballast for the foundation
- Geotextile (optional – against weeds)
- Water
- Tools: spade, level, trowel, rubber hammer, wheelbarrow, bucket, mason’s twine, tape measure

Step 1: Plan and delineate the wall
- Determine the exact dimensions and course of the wall (straight, curved, etc.).
- Drive the stakes and stretch the string between them to mark the line of the wall. Remember to always follow the measurements precisely.
Step 2: Preparation of the substrate
- Trench excavation – 20-30 cm deep, 10 cm wider than the wall.
- Spread and compact the drainage layer on the bottom – about 10-15 cm of gravel or ballast.
- Make drainage with PVC pipe (with perforations, wrapped with geotextile fabric) on the side that will be behind the wall – slightly sloping towards a drain (such as a manhole, ditch or free space). This will help you avoid problems with rainwater collecting at the base of the wall, which is especially important for retaining walls.
- Backfill the pipe with another layer of gravel until it is just below the mortar level under the first layer of bricks.
- Spread geotextile fabric to reduce weed overgrowth (optional).
Step 3: Prepare the right foundations
When a foundation is necessary:
- When the wall is to act as a retaining wall with a height of more than 60-70 cm.
- Behind the wall is an earth mound that will exert constant pressure.
- The soil at the site is soft, clayey or unstable.
- You want the structure to last a dozen-something years without repairs.
In this case, a concrete foundation about 30-40 cm deep (~80-100 cm for heavier structures) will significantly increase durability.
When the foundation can be abandoned:
- The wall is decorative or divides the space (e.g., bed border, decorative wall).
- The height does not exceed ~40-50 cm.
- The ground is stable, and a foundation of compacted gravel and ballast will drain water well.
In this case, after laying the geotextile (step 2), you can move on to preparing mortar and laying bricks (step 4).
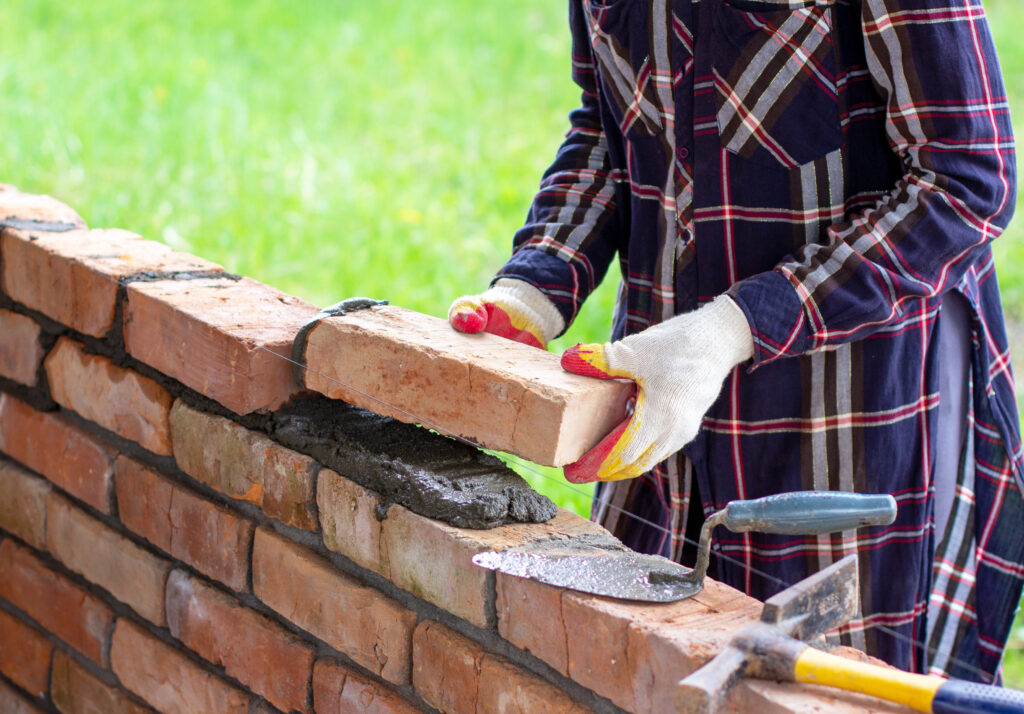
Step 4: First layer
- Prepare the mortar: the standard is 1 part cement, 3-4 parts sand, possibly a little lime and enough water to get a thick, plastic consistency.
- Spread a layer of mortar (about 2-3 cm) on the foundation.
- Stack the bricks side by side, pressing lightly with a rubber mallet, checking with a level.
Step 5: Subsequent layers
- Arrange bricks on a “batten” – vertical joints should not fall one over the other.
- After each layer, control the level and vertical of the wall.
- Smooth out excess mortar with a trowel or remove it.
Step 6: Finishing and grouting
- After laying the last layer, form the top surface so that it drains slightly (gentle slope).
- Smooth the joints with a pointing trowel.
Step 7: Maintenance
- After the mortar dries (about 2-3 days), you can impregnate the bricks with a water repellent product to reduce moisture penetration.
- Regularly remove moss and weeds growing in the joints.
What should be kept in mind when deciding on a brick wall in the garden? – Practical tips
Proper planning for the construction of a brick wall in the garden is key to making your structure look stylish and last for years. First, carefully consider both the location and height of the wall. The choice of location should take into account not only aesthetics, but also the function the wall is to serve.
A solid foundation is extremely important, as it ensures the stability of the entire structure. The style and color of the bricks should harmonize with the surroundings of the garden, so it is a good idea to familiarize yourself with the various options available. In our store you can find demolition brick in yellow, red, burgundy, orange and apple, among others.
Another important issue before starting construction is proper site preparation:
- The surface must be evenly leveled to allow accurate brick laying.
- Effective drainage should also be taken care of – proper drainage of rainwater protects the wall from moisture damage.
How to take care of the brick wall in the garden to ensure its durability and representative appearance?
To make the brick wall in the garden not only durable, but also aesthetically pleasing, systematic maintenance is necessary. It is important to monitor the condition of the mortar between the bricks. Any cavities should be repaired quickly to avoid more serious damage. It is equally important to ensure adequate drainage around the wall, as excess water can weaken its structure and promote the growth of mold.
Cleaning the bricks also plays a key role in maintaining their appearance:
- Moss or dirt can be removed with brushes and mild detergents.
- The use of waterproofing products protects the bricks from moisture and dirt, which increases their resistance and helps them maintain an attractive appearance.
Here you can check our range of preparations for preservation and impregnation of old bricks <<